

Posts on Current Forum | Archived Posts
|
|
|||
|
||||
|
||||
| Frequently Asked Forum Questions | ||||
| Search Older Posts on This Forum: Posts on Current Forum | Archived Posts | ||||
| Firefight Solo Guide: Rally Point | |
| Posted By: Monochron <Fleebop101@gmail.com> | Date: 11/20/09 12:51 p.m. |
|
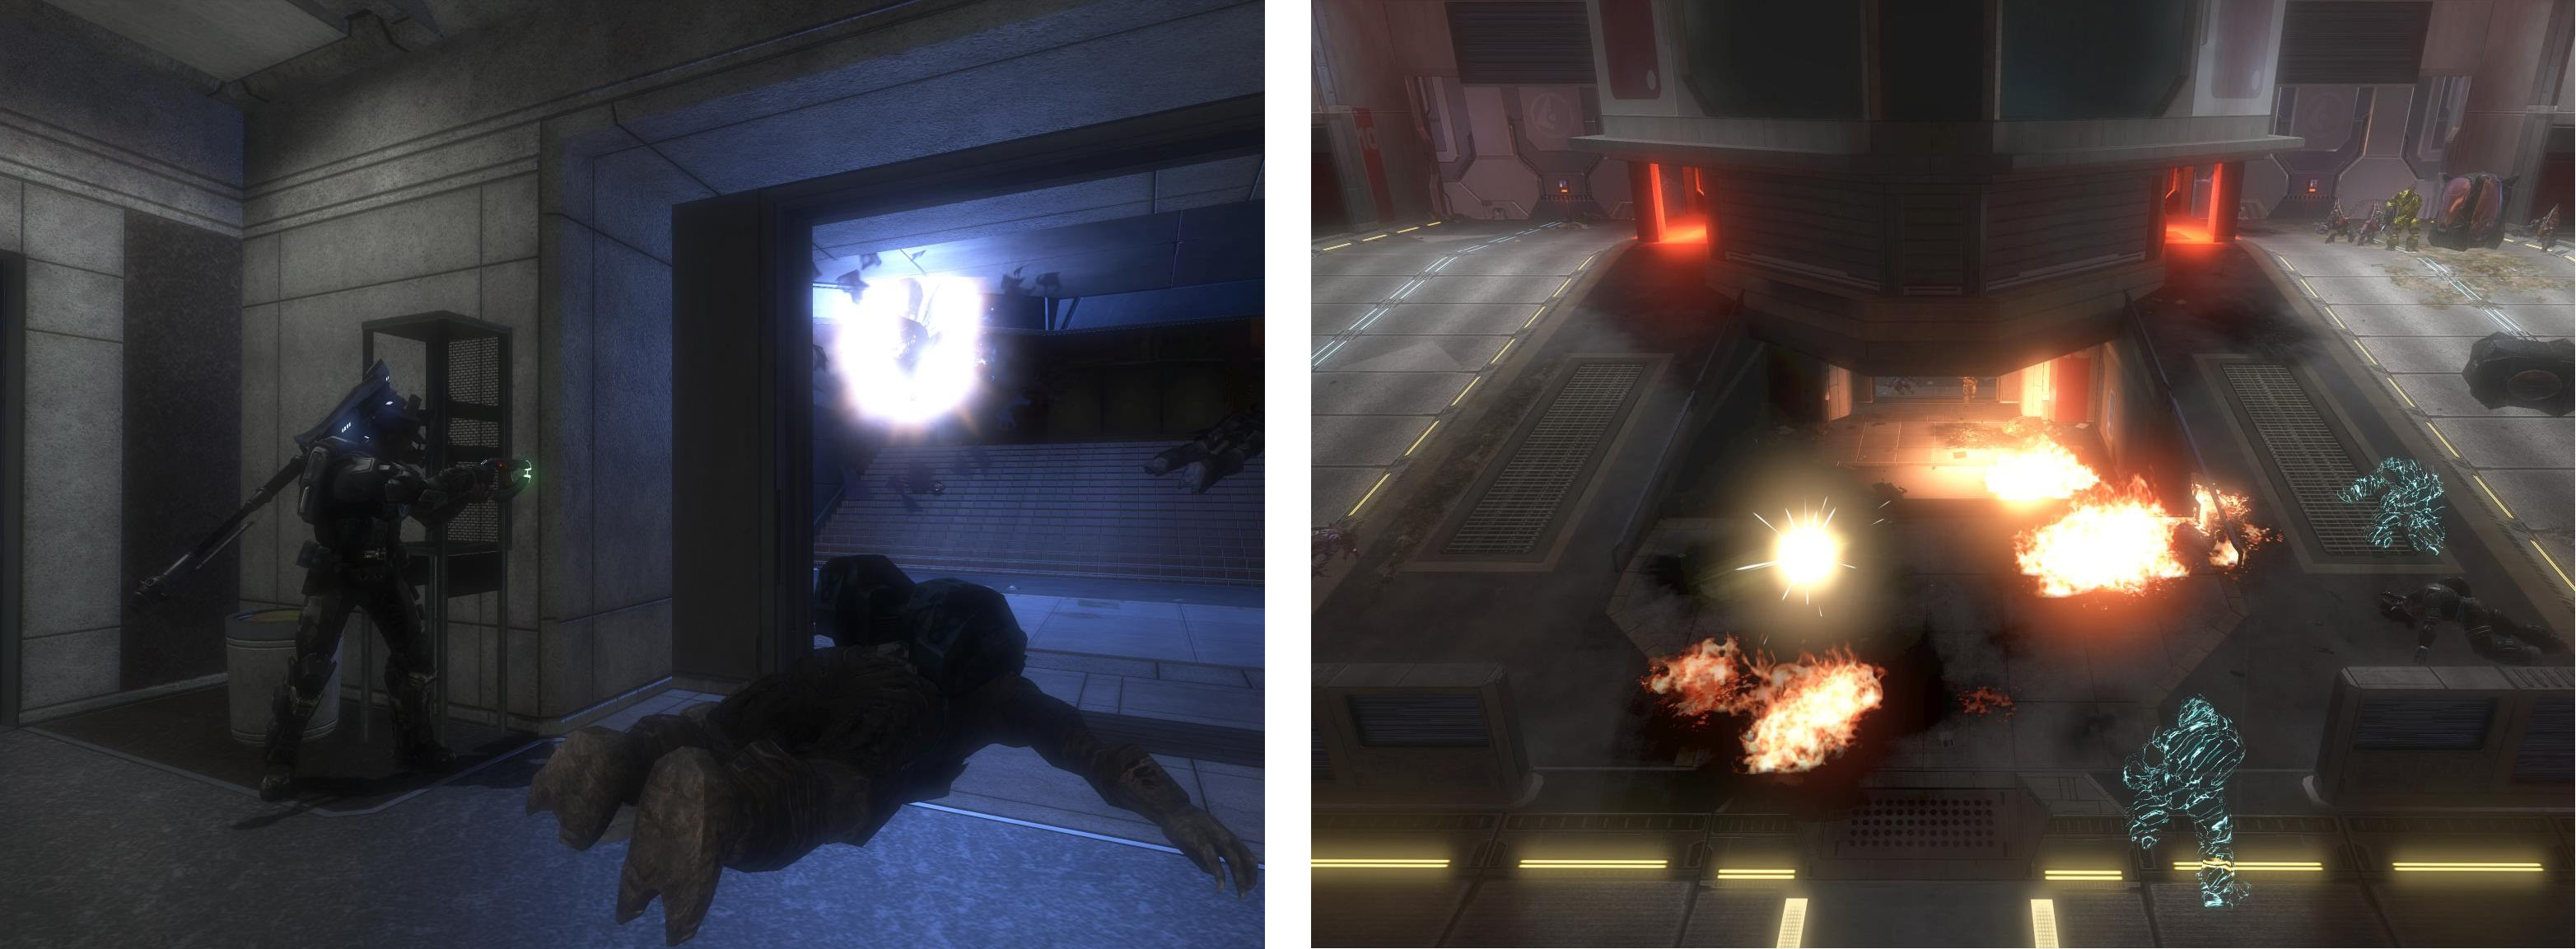
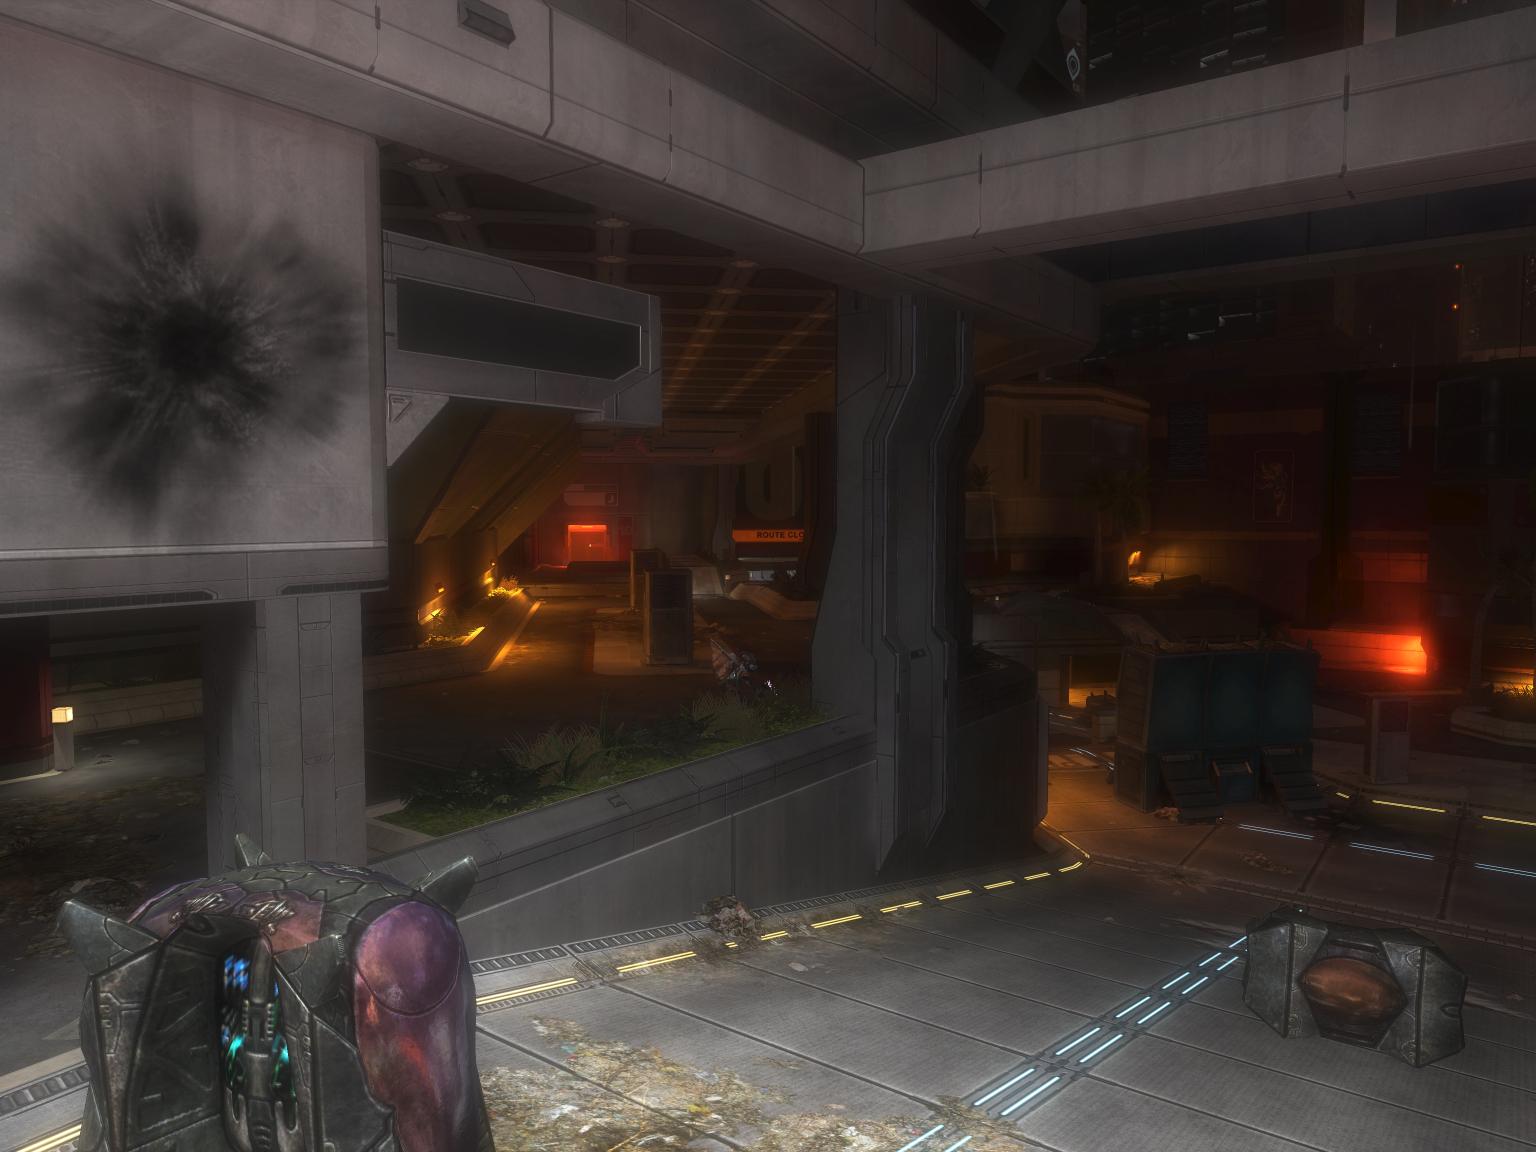
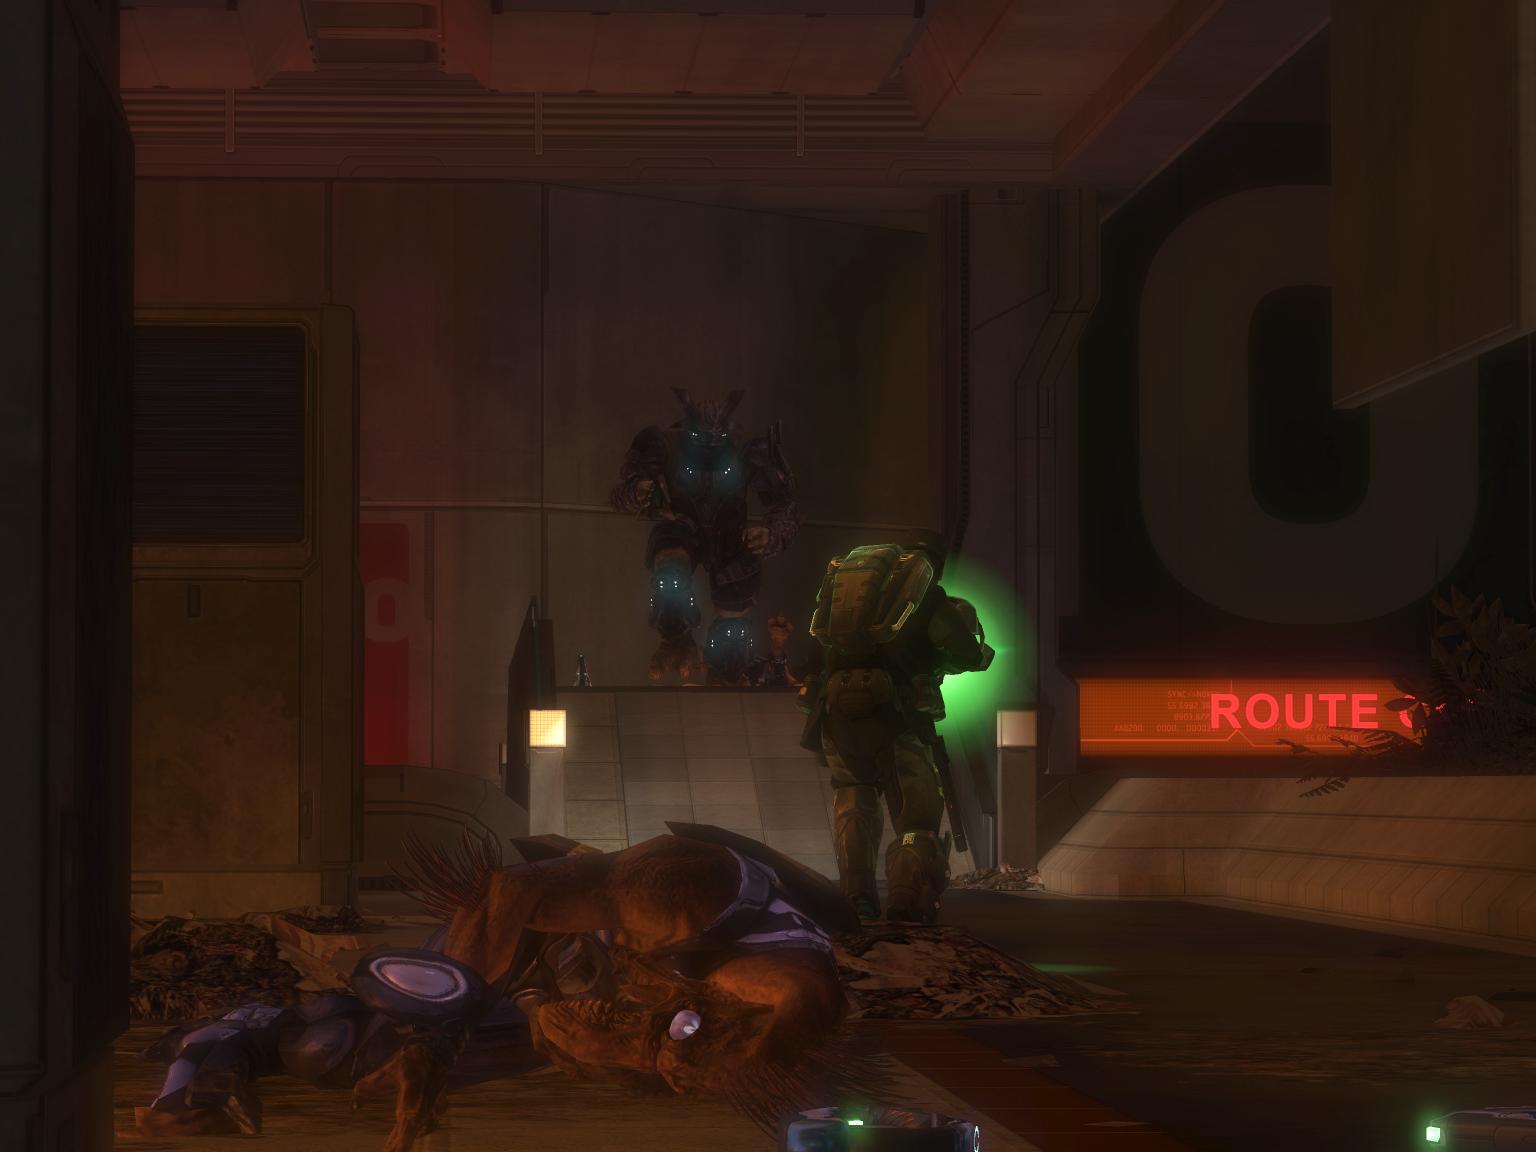
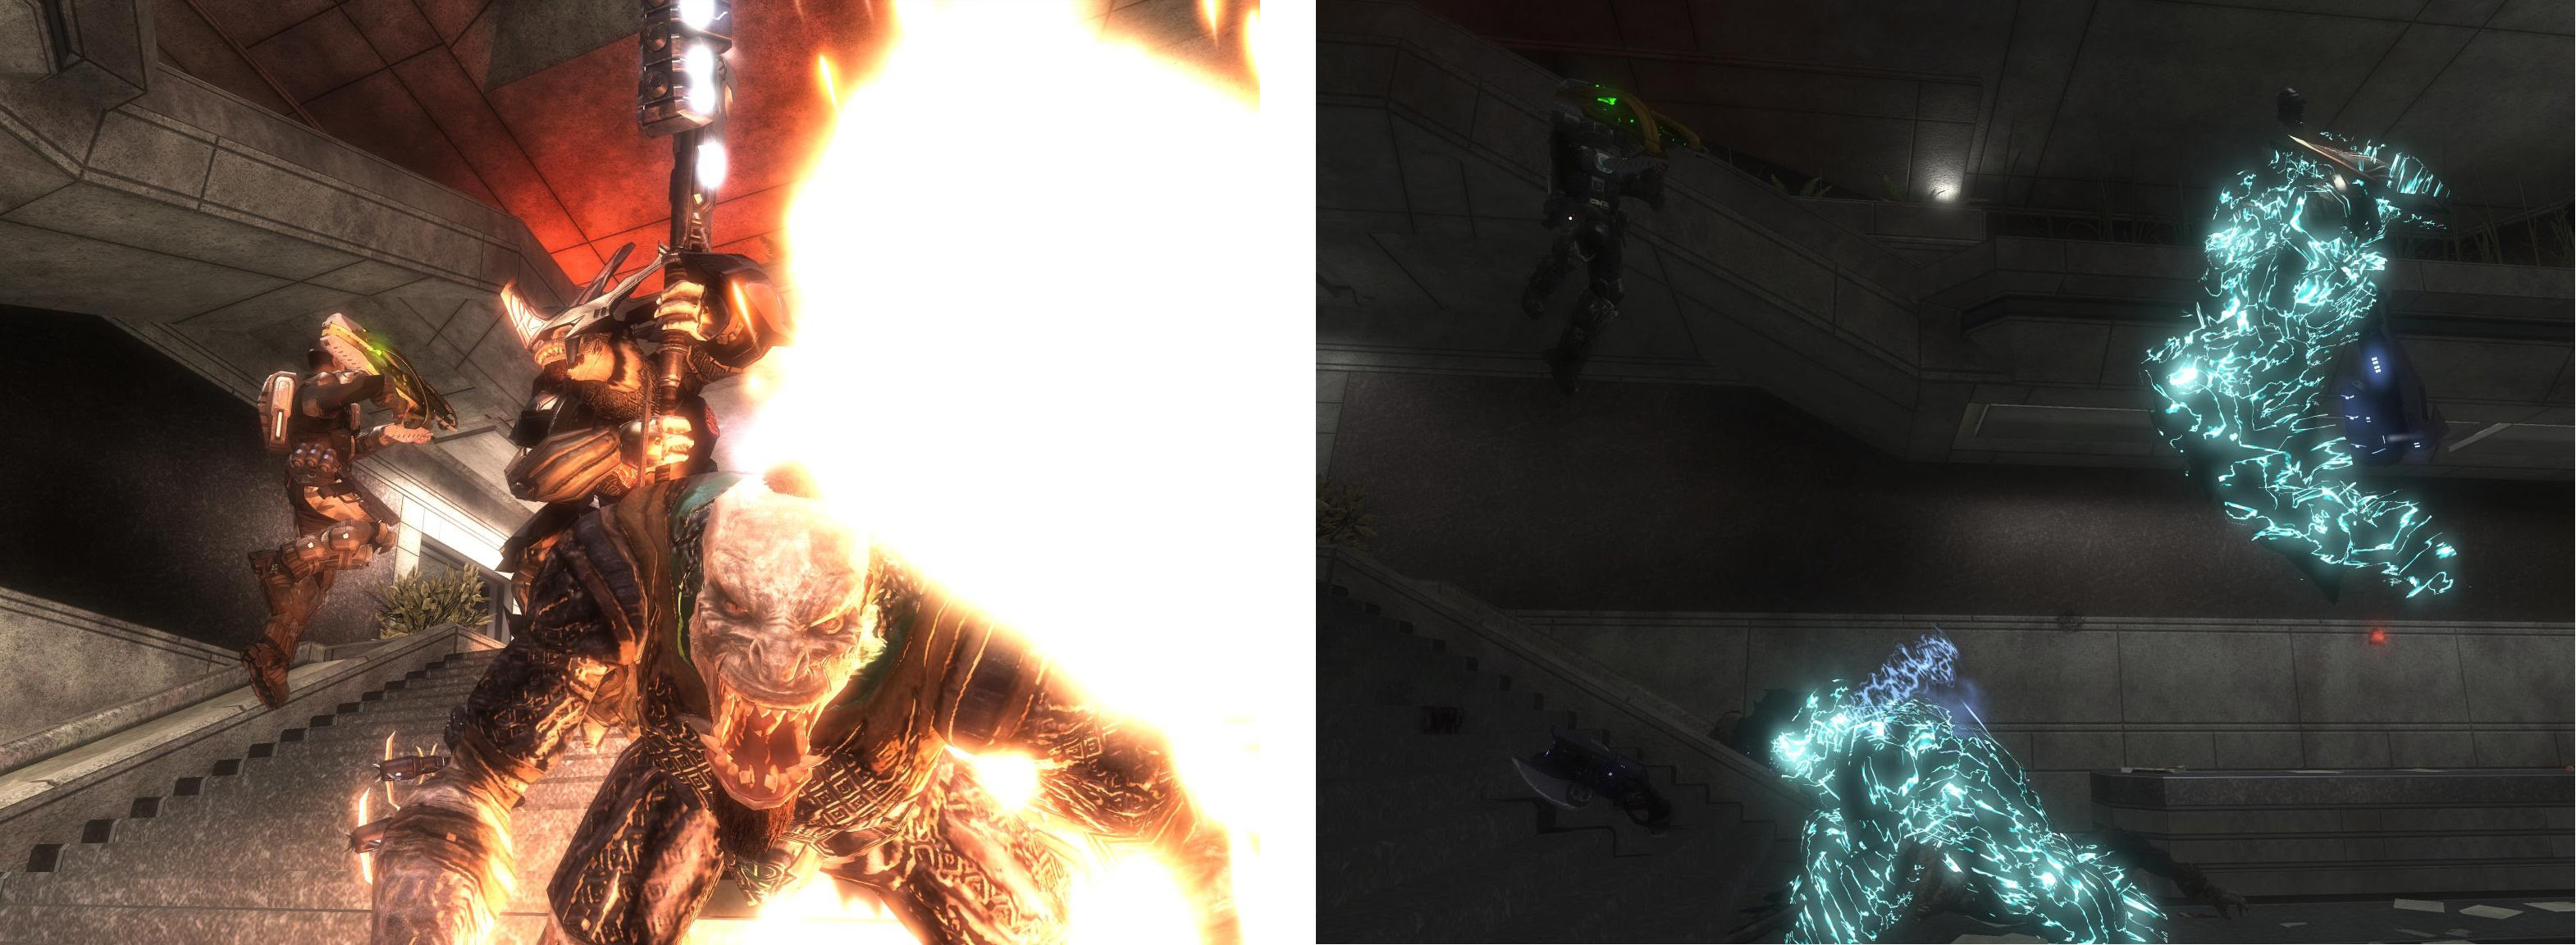
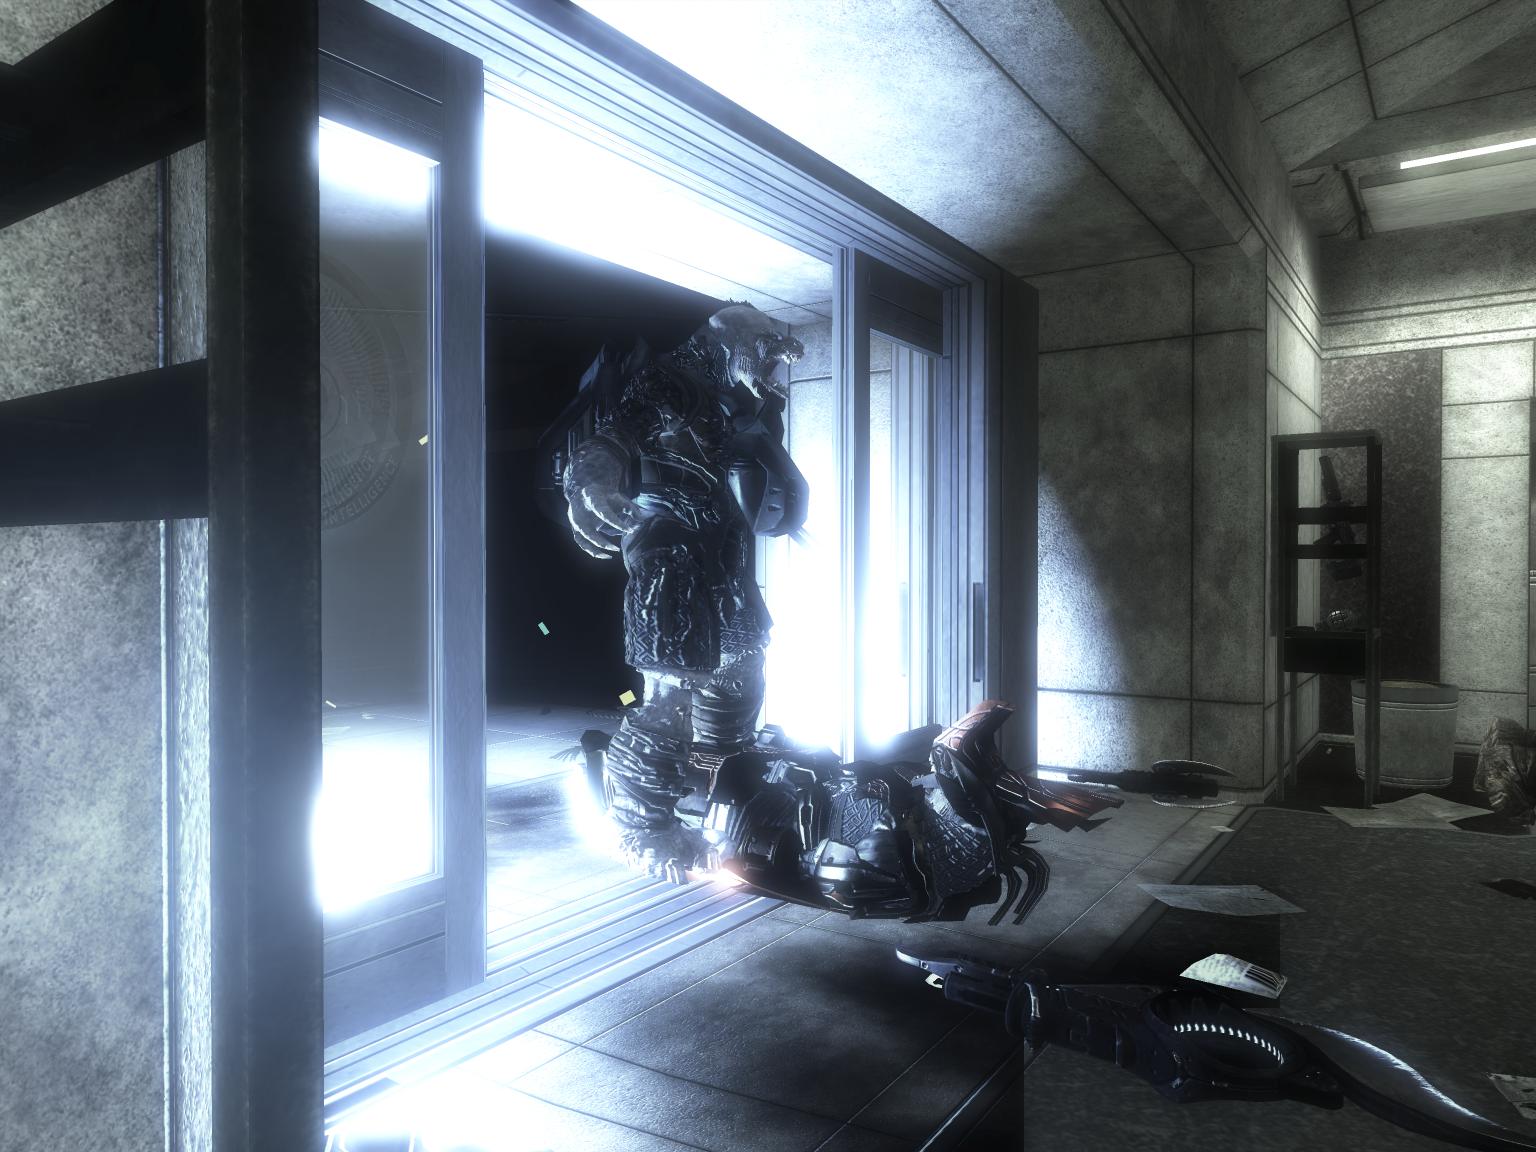
This week I will be taking a look at Rally Point. This level isn't quite as suited for handing out swaths of destruction and fantastic explosions to the covenant all by your lonesome but it can still be a blast (cringe-worthy pun intended). Solo play can be tricky here, but with fast fingers and a focus on what is surrounding you, you should be able to find a good strategy to keep yourself alive. High scores are very possible and if you are looking for that extra challenge when playing, Rally Point could be the level for you. Rally Point/Rally (Night)Rally Point offers some significant challenges compared to other firefight maps. It is the only smaller map with a Wraith present, no Spartan laser to take it out with, and a spawn area with multiple entrances making things awfully cramped. Because of the large, open nature of this map you actually have a bit more freedom to venture out into the open to lure in enemies or to pick up weapons dropped. The room where you spawn is as far back as you can get on the map and makes a fairly good place to hold down. By staying at the front sliding door you funnel your enemies down the stairs and surprisingly few will come from the upper level of the room. Occasionally someone will sneak down and pop up in the side hallways ready to play catch with some stickies, so make sure to constantly check your back. Speaking of grenades, the stairs out in front of the sliding door makes for a giant grenade trap. Dead enemies leave grenades there when they die and the ones later thrown will detonate everything in a spectacular concert of death. The Engineers are surprisingly easy to take out while in the spawn room as they love to float down right of front of the sliding door. Curiosity killed the ugly sack of gas. If you need to take cover you can drop back into the entrance of the small hallways or if you are really in a bind you can run up the stairs onto the second level. Be careful though as this prompts badies to come through the top doors and you can be in danger of getting overrun. A helpful strategy is to run to the top of the outside stairs to lure people in and as they congregate at the top, let them have it with grenades and other weapons.
The other option for hunkering down is either of the two raised porch-type areas on the left and right of the spawn room, across the small road. These areas direct your enemies to approach from either side, the doorway near the spawn room, or the bridge leading away. They can be funneled even further by jamming the box outside of the spawn room door in front of the doorway to the porch, causing enemies to bunch up at the doorway for maximum carnage. No need to play fair. Those bullies deserve it. Your main enemy on the porch however, will be yourself. The most important thing here is to always be watching your back because even though you have only got two entrances to watch, they are on opposite sides of each other and it can be easy to not notice enemies piling up behind you.Personally I like to stay on the porch for most of the Round and fall back to the spawn room when low on ammo or health and when the Drones show up. The porch's exposed nature makes it good for battling Chieftains and the like, but bad for dodging fire from screeching annoying bugs.
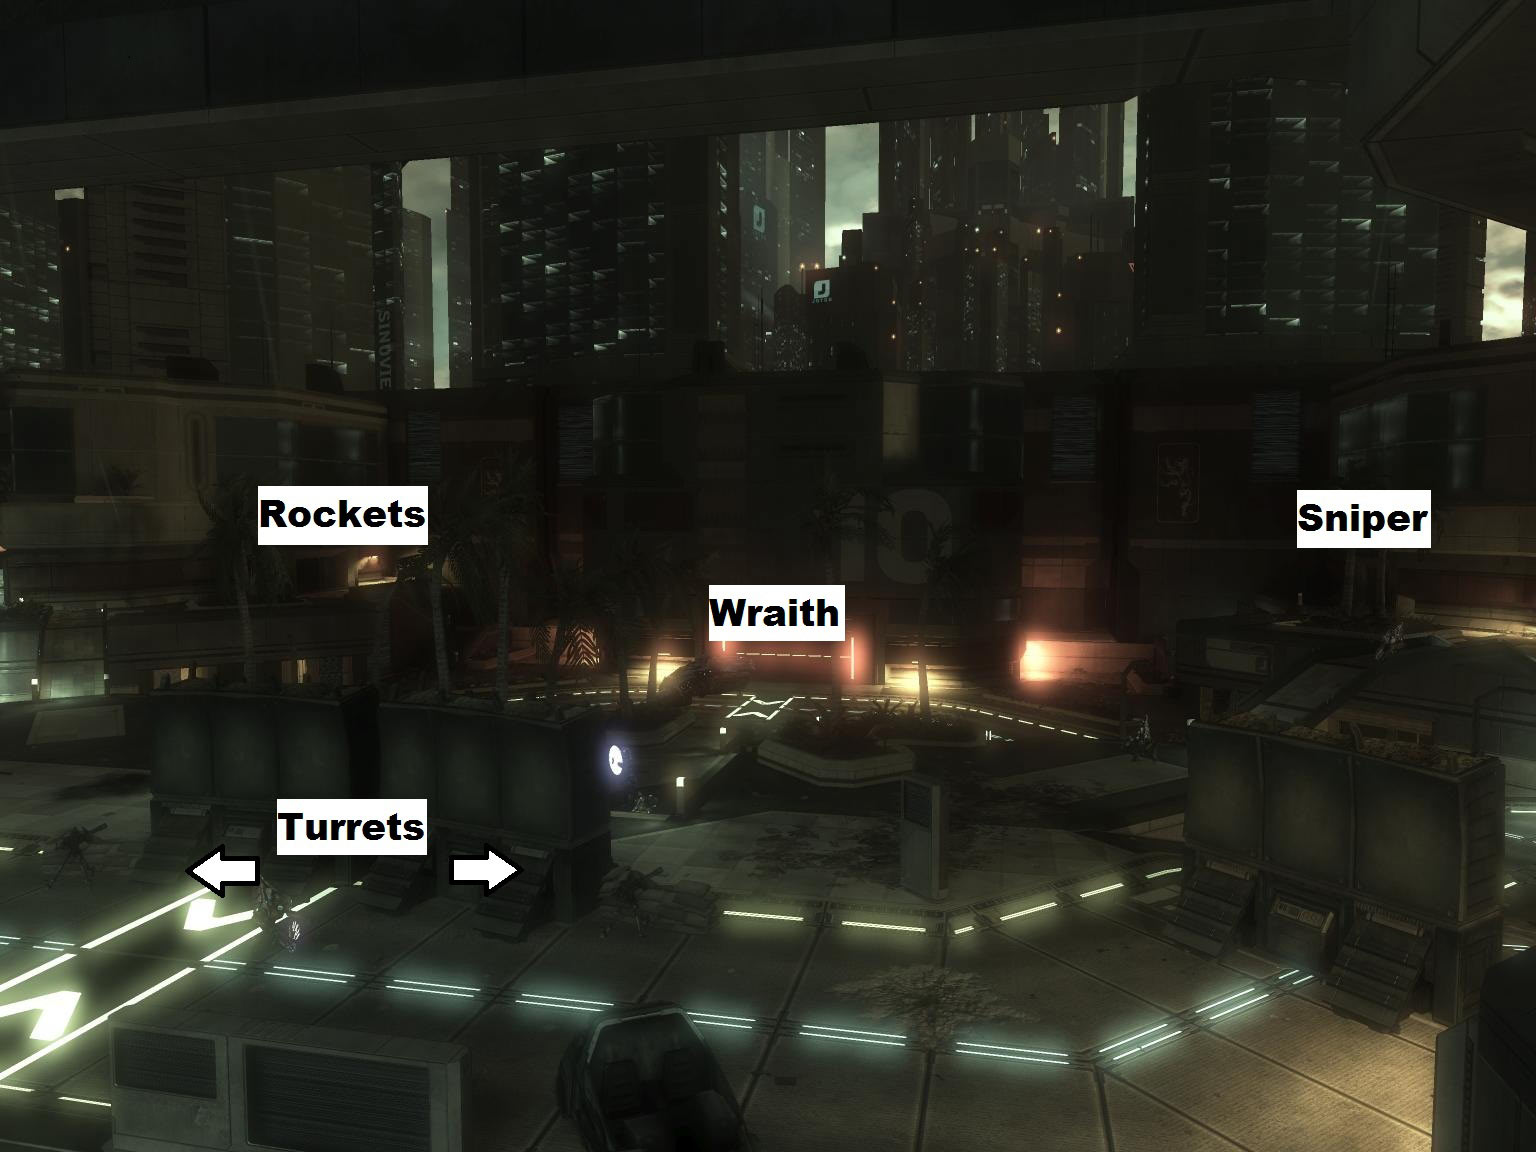
Weapons As usual your pistol and SMG ammo can be found inside the spawn room and is on the upper and lower levels. Health is also in here on the back walls and when in this area I constantly find myself accidentally picking it up and wasting it so be careful to avoid them until when you need them. Rockets are right next to the wraith on the raised area in what is clearly some sadistic joke from Bungie but also provides an exciting run to pick them up after each new Round starts. Extra ammo can be found at the far end of the map inside one of the small boxes with plants. It is usually best to pick them up at the beginning of each round to avoid being cornered out there or worse, being ambushed by bugs. There is a Sniper on the other side of the Wraith, mirroring the Rockets, which you can get if you want but you will generally find the Rockets more useful. Its ammo is also found in the plant box mirroring the Rocket ammo's location. There is also a conspicuous lack of Spartan Laser meaning that you will have to rely on other means to take down the Wraith.
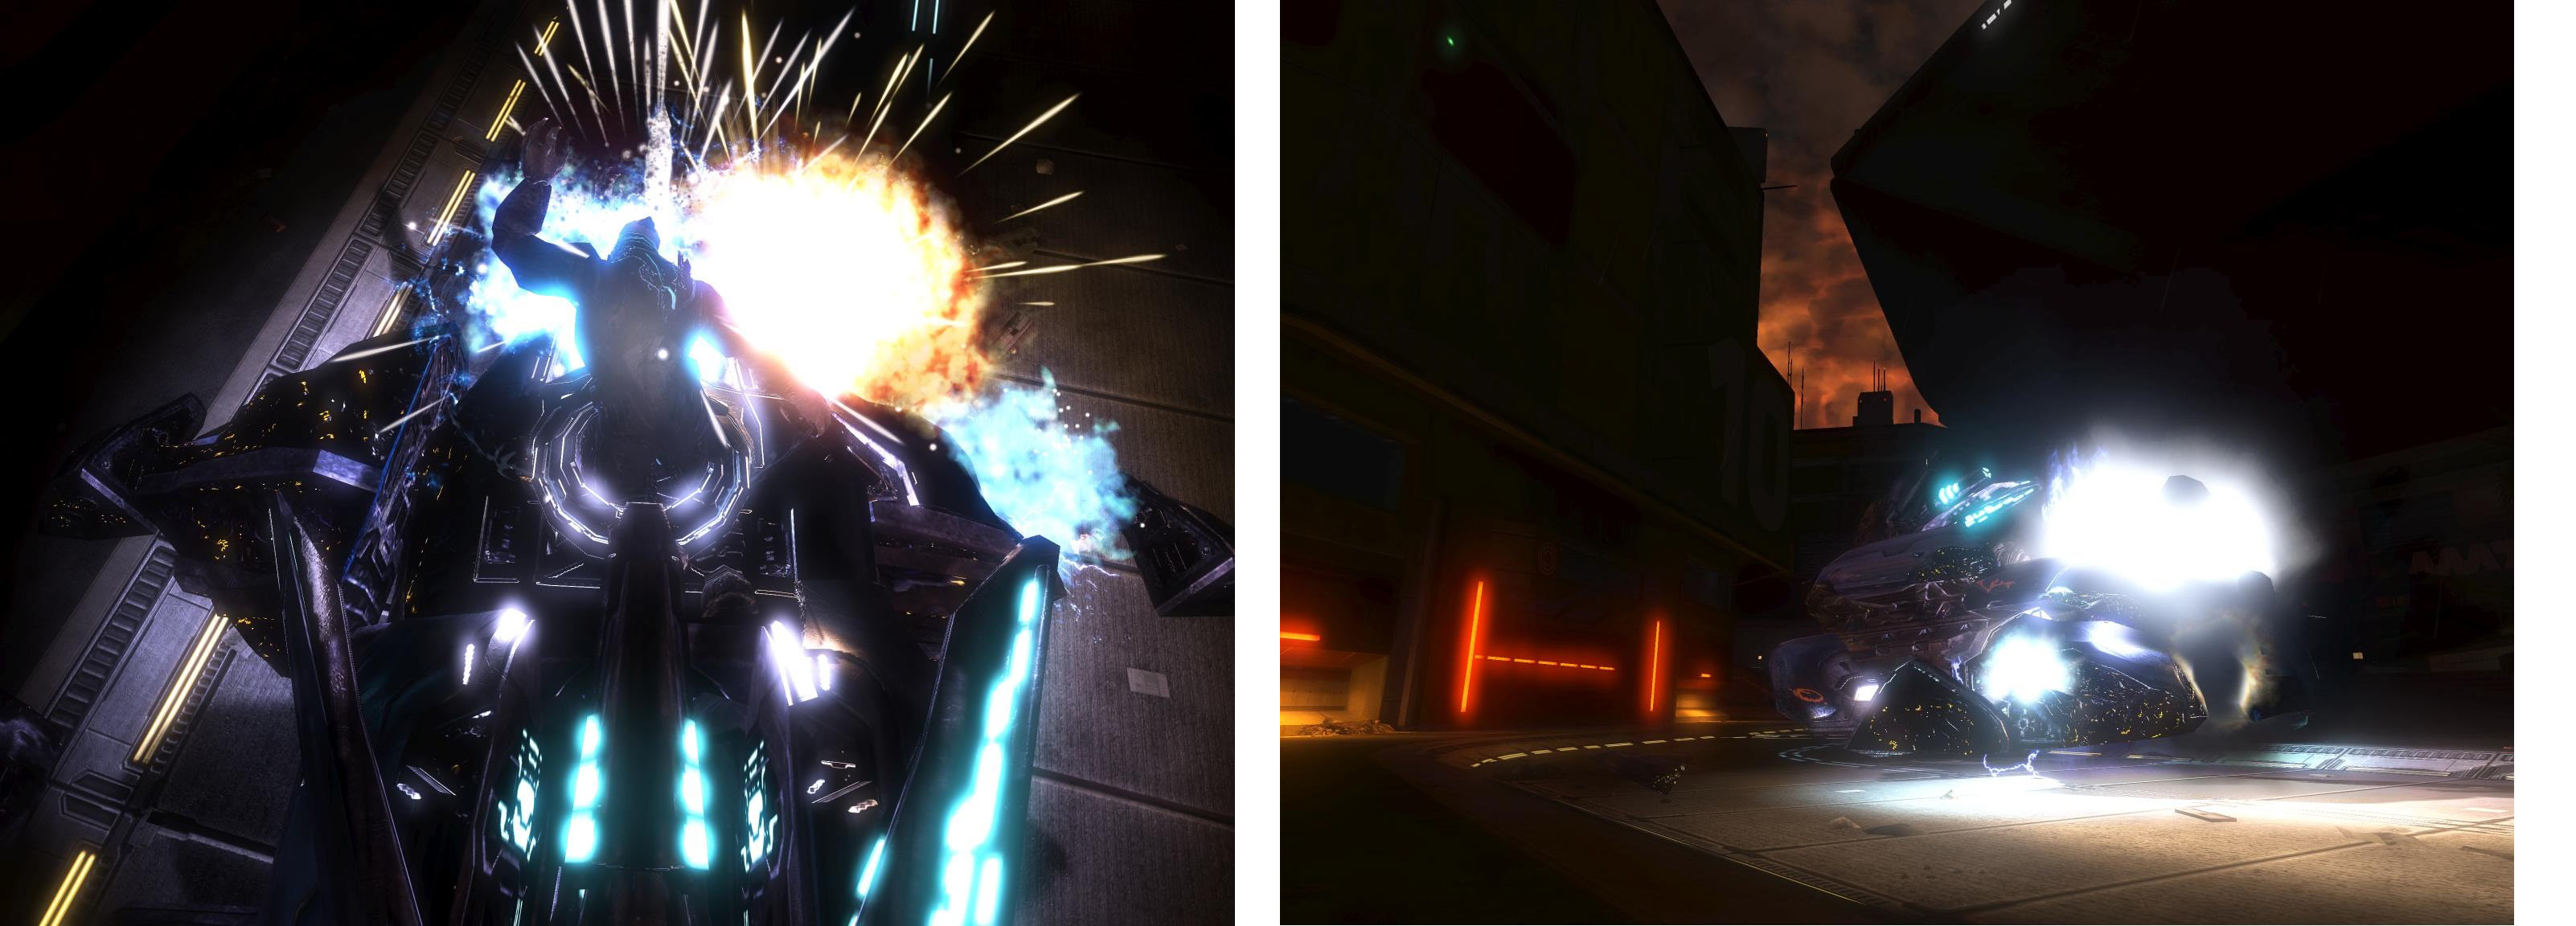
Wraith On Rally Point you don't necessarily need to take out the Wraith, but if you choose not to you need to be willing to be bombarded the entire time. At any time it usually takes at least three Rockets, usually more, to take out a wraith and even with the extra ammo this leaves you pretty low. Grenades are generally useless unless you can take out the gunner allowing you to board the Wraith and do a little happy dance over the smoking husk. Boarding before taking out the gunner will only work on lower difficulties and in early rounds but if you must, be prepared to be chewed up by the turret as it is nearly impossible to get behind the thing.
Turret As always when playing solo, the Turret is suicide. That being said it can be particularly useful to take the turret off and keep it with you in the spawn room. The huge funnel ahead of you is great for mowing down enemies and the slightly larger field of view when holding it allows you watch your flank easier. It is also effective on the porch when enemies are at a distance but when they get close you are at a speed disadvantage and are prone to grenades. Use it on its stand and you are likely to be filled up like a hooker in occupied Germany. (The bad jokes are rife today) Brutes You can handle Brutes here without much trouble. Good old Plasma Pistol (PP) and Human pistol to the noggin will kill them and again taking down multiple shields without getting headshots is useful as you will have less shooting at you, but more running at you like they've got the rage virus. The porch is especially suited for taking on Brutes as they will cluster around the doorway and a well placed grenade or even brute shot can do some serious damage. On the other side you will generally have one Brute and a few grunts or jackals coming across the bridge at a time which shouldn't be anything too difficult to handle. Brutes can also be dealt with efficiently in the spawn room by standing at the sliding door and wiping them out on the stairs. This isn't always ideal though as other enemies (especially jackals) can pile up in the spawn room when you're not looking and surround you.
Grunts/Jackals Jackals can be quite an annoyance on Rally Point. It is very important to be aware of where enemies are coming at you from and packs of Jackals just love to get up close to you and fire away. To avoid this do your best to take them out at a distance with the pistol or carbine and if they do get up close use a mixture of jumping and meleeing down at their heads to get over the shields and using frag grenades. Frag's aren't too useful elsewhere and there are more in the spawn room so toss a few if you get overwhelmed. The only real problem with Grunts is their stream of grenades heading your way. A good way to avoid being hurt is to actually run towards them while arcing outwards. They will be so focused on tossing plasma that they rarely shoot and you can close in on them while the grenades explode where you just were. This works much the same for Brutes but they will often shoot at you as well or just give you the fist up close. Finally it can sometimes be helpful to stand near Grunts and Jackals as the Wraith tends to hold its fire somewhat. I guess the strain of an invasion has softened the Covenant's attitude on gratuitous fratricide.
Drones Drones....They're everywhere! Seriously these jerks get all up and inside your grill pretty much wherever you are. As opposed to other levels Rally Point does not have a place you can fall back to where the Drones are unlikely to follow. Personally I find the porch far to open and susceptible to being surrounded by these screeching idiots so I usually fall back to the spawn room. It is better in here because you can hide to some degree in the small sets of stairs here and in an enclosed area you take away some of their airborne advantage. Being in here also allows you to get a melee in and quickly duck into the stairs when Black Eye is on and keeps any Plasma rifles dropped by the shielded Drones within reach. Stick mainly with the SMG to take them out with a few pulses and switch to the plasma rifle or even an overcharged plasma shot for the shielded dirt bags.
Engineers Luckily these slimy looking dudes are very easily dispatched on Rally Point. As mentioned before if you are in the spawn room these guys often come right down in front of you and let you get a good shot off at them. Killing them on the porch is not that much more difficult because you have plenty of area to shoot from and a plethora or PPs around. It is fairly easy to kill them from a distance as well because they rarely seem to try to dodge your shots. Just aim slightly in front of where they are heading and you'll have an exploding balloon in no time. Remember one charged shot will kill them but once Mythic turns on it will take two.
Hunters The Hunters aren't too bad on Rally Point but you would do best to keep them on the porch. Here you have plenty of room to maneuver and can actually ignore them for a short time if you need to dispatch of some other thing trying to kill you. Like usual you will always want to move lateral to them to dodge their green streams and try to land stickies to their back or insides when they swing. With the size of the map hopefully keeping enemies separated from you, you may be able to venture over to the Sniper and try to take some shots into a Hunter's orange squishy goodness. Again the porch is perfect for this with its long lines of sight and your ability to jump off, causing the hunters to lose interest and possibly expose their backs.
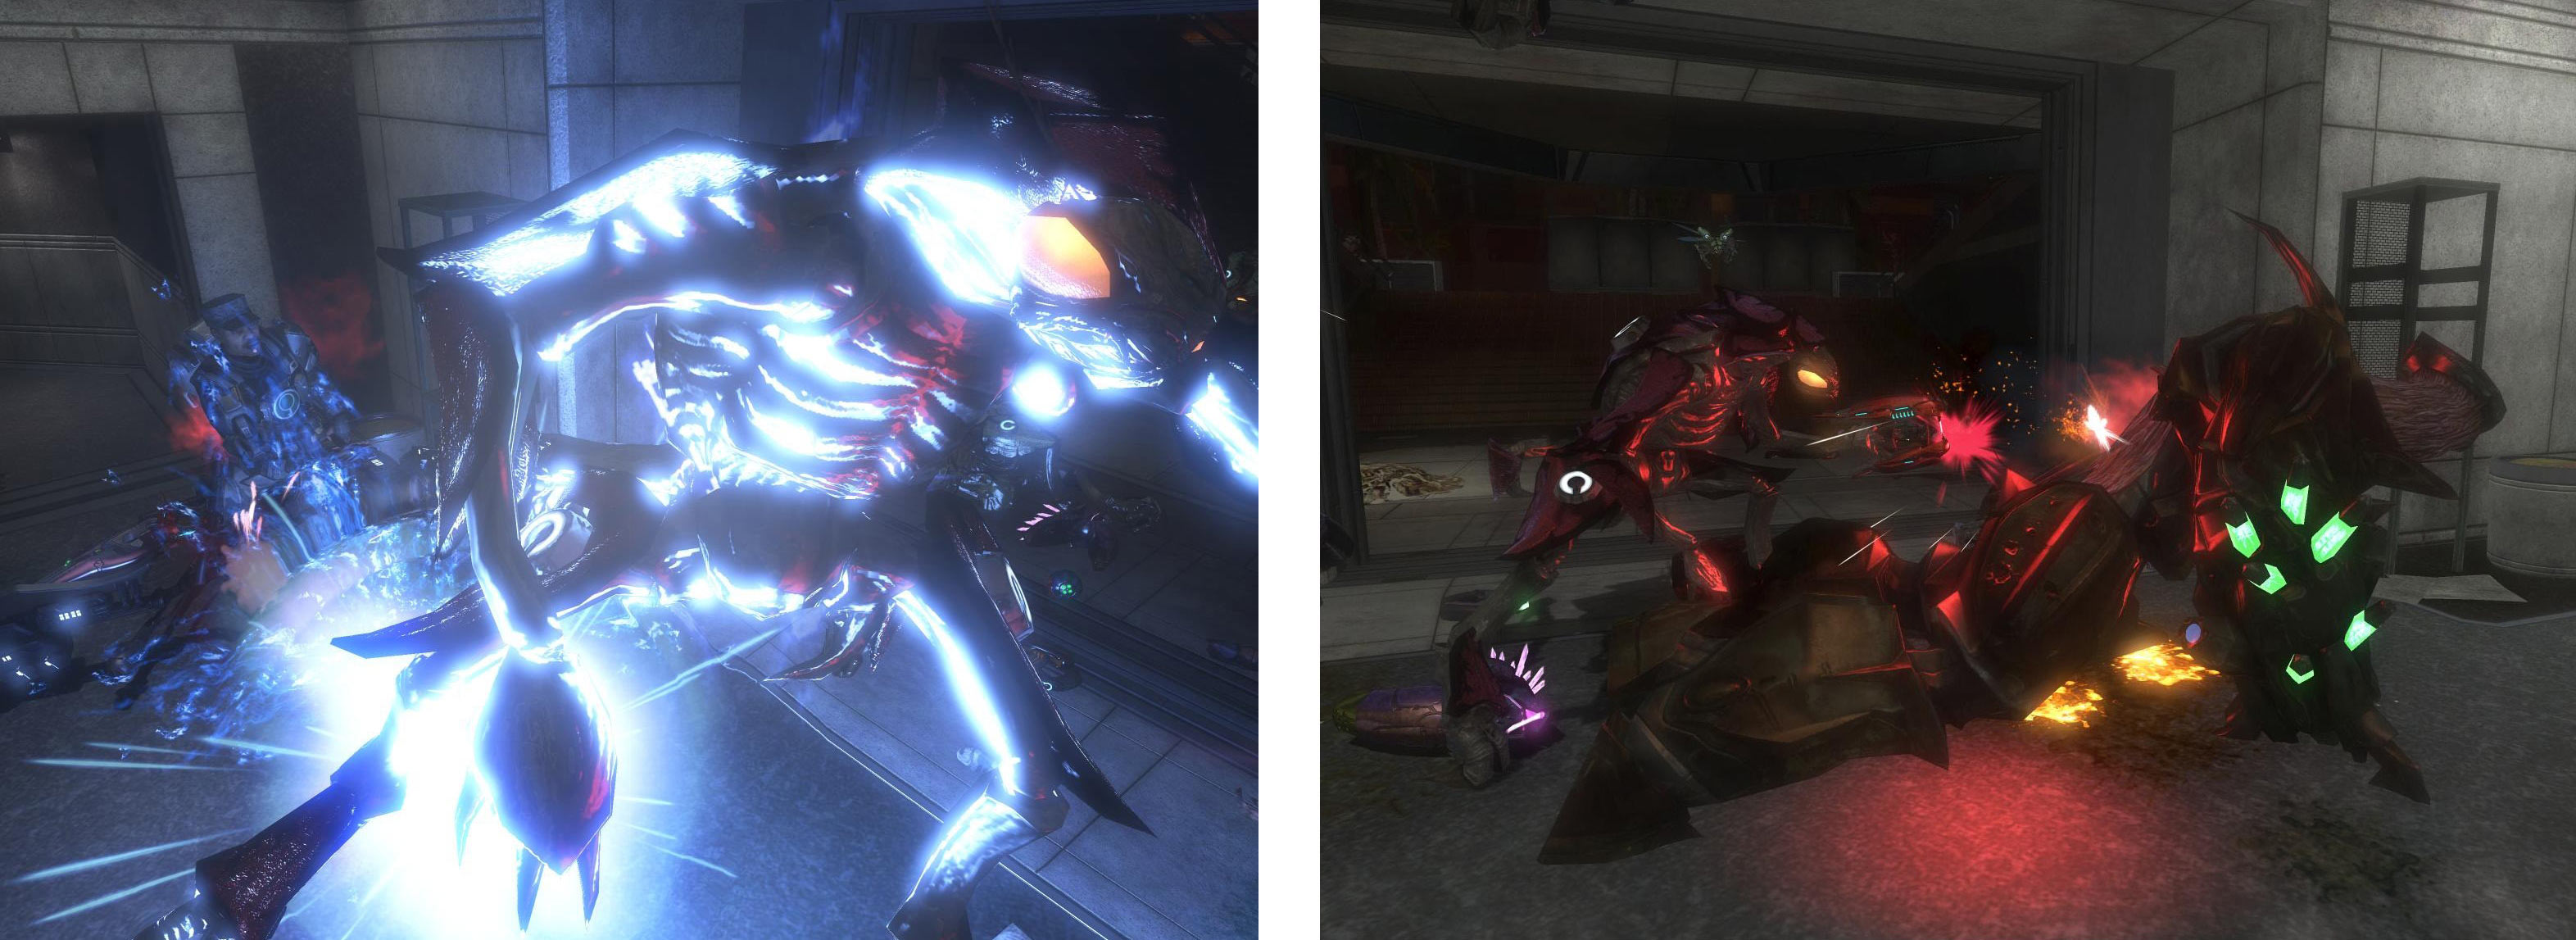
Chieftains On Rally point you face the unique obstacle of taking on two or three Chieftains at once. It could be how open you are on the porch or that the dirty monkeys have finally caught on to you luring them in one by one but even the Fuel Rod Chieftains will come right up to you some times. This will really work to your advantage if you already have a Hammer because in close quarters the Fuel Rod apes will hold their fire. Without a Hammer you still have the advantage up close by going for the assassination. You might get slapped around a bit by the pimp hand but if you can perfect jumping over or around him and looking down for the back melee you can really save yourself some time and damage. Hammer Chieftains are best dealt with by use of rockets or Fuel Rods if there have been any left lying around, or jumping over them as they lunge and smashing the tops of their heads with the hammer. A friend of mine noted it was worth mentioning that the Carbine does a good job of removing a Chieftain's helmet thus allowing you to get a head shot and end it there. If this is failing you it is possible to stick a Chieftains weapon but not his body and with enough grenades to hurl this can be very effective. Lastly, don't be afraid to abandon the area that you are fighting them in. Taking on Chieftains in the spawn room is very difficult but if you run out of power weapons you may need to head in there for a bit to find something.
Blackeye Round During the Blackeye round it is probably best to just take out the Wraith with the Rockets as not having to worry about blue death coming from the sky to steal your precious shield will really help. If you have properly stock piled your Hammers from previous rounds you should keep one with you to quickly recharge your shields. Your biggest fight will be from the Drones again but this time you can use the spawn room to your advantage and get the melee's. Be careful about the health packs though as you really don't want to accidentally get one now. Bonus Round The bonus round can be particularly challenging on Rally Point because the little squirts do not come bunched up and it is hard to get high multikills. They come through three doors on the opposite side of the map, the majority of which coming from the center door, the one that looks like a weapons cache from the campaign. To best maximize head-shotitude you will want to do something that otherwise would get you killed: run out into the open. You've only got a minute to kill as many as you can so you will need to run out to somewhere that gives you good lines of sight, the bulwarks in front of the spawn room stairs should be good. Try to move from side to side with any heavy weapons you have left, firing at alternating sides of the weapons cache door, and fall back to the pistol when you are out. Retreating slowly up the ramps should allow you to get those last points and stay alive. One final note that can apply to any level: it is advantageous to die at the end of the Bonus round. When you come back you have two full guns in your hands in addition to the ones in the racks. One last thing. Watch out for the spirit of the lost Brute. He is rumored to wander the halls of the spawn room and if you see him hovering in through a door, beware...
Well, thanks for reading again. Hope you can glean some sound tactics out of my long ramblings and maybe share some ideas in the comments. See you next time! | |
|
| Replies: |
| Firefight Solo Guide: Rally Point | Monochron | 11/20/09 12:51 p.m. |
| Re: Firefight Solo Guide: Rally Point | NOKYARD | 11/20/09 7:24 p.m. |
| Re: Firefight Solo Guide: Rally Point | Monochron | 11/21/09 10:48 a.m. |
The HBO Forum Archive is maintained with WebBBS 4.33. |